Fibre Optic Equipment by Job
Most fibre work follows the same steps: prepare the fibre, join it, check the result, and keep connectors clean. Start with the step you need equipment for.
| Job | Equipment | What to look at |
|---|
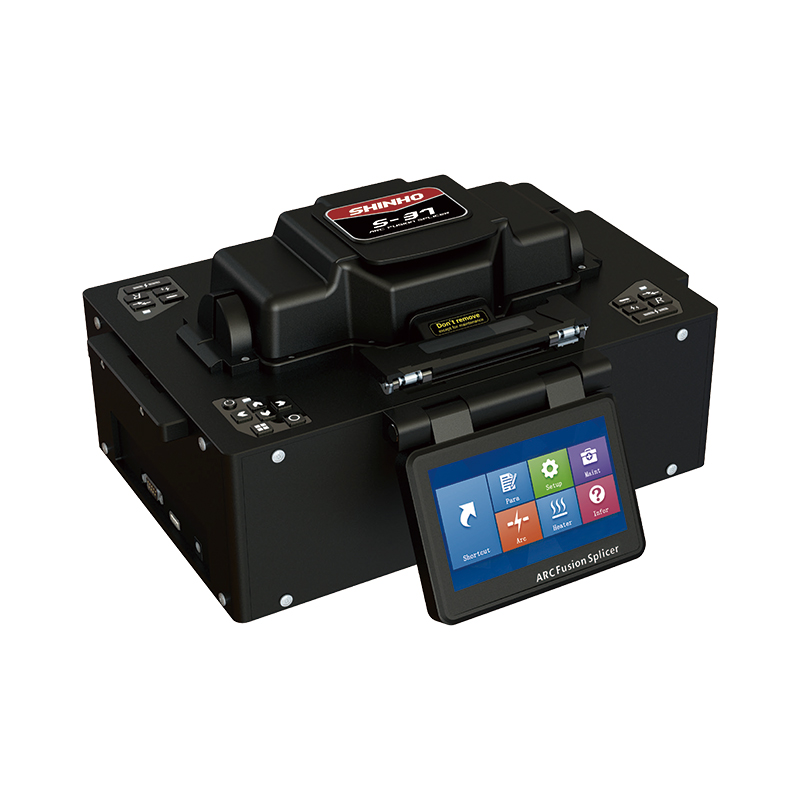
| Join fibres permanently | Fusion splicers | Alignment type, splice loss on your fibre, battery cycles, ruggedness |
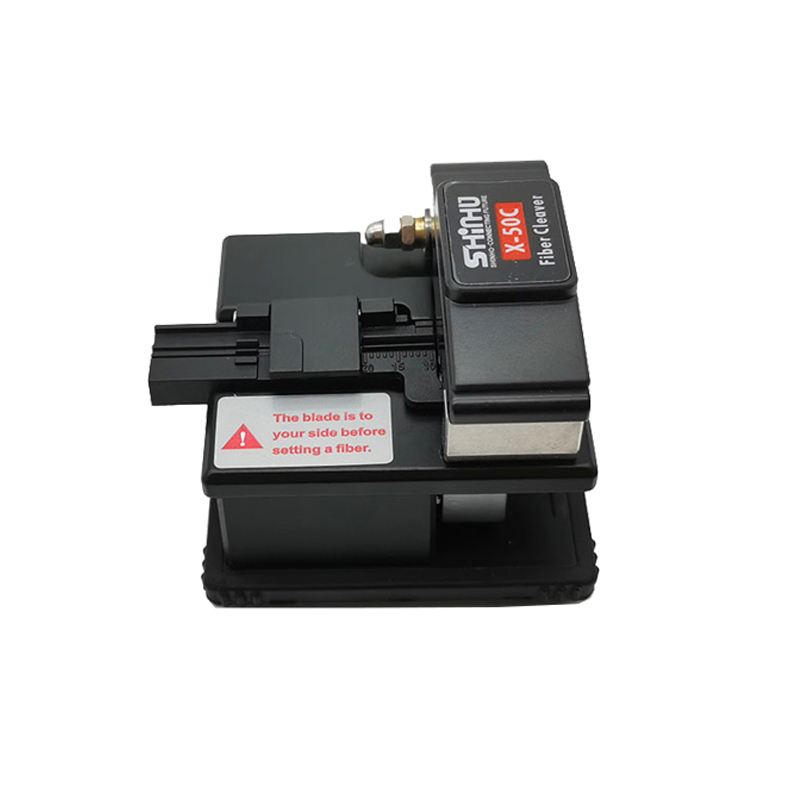
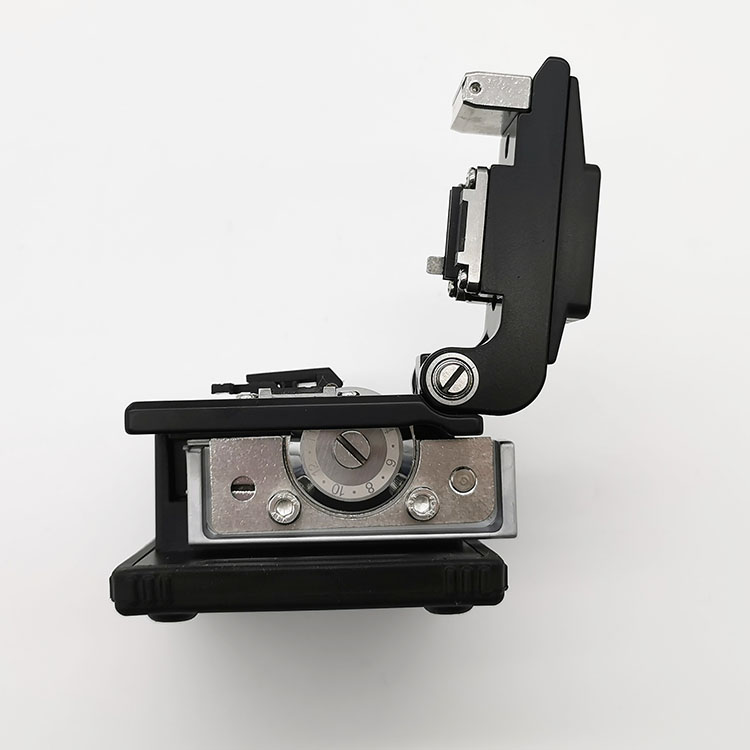
| Prepare fibre for splicing | Cleavers and preparation tools | Cleave angle and consistency, blade life, fibre and coating sizes |
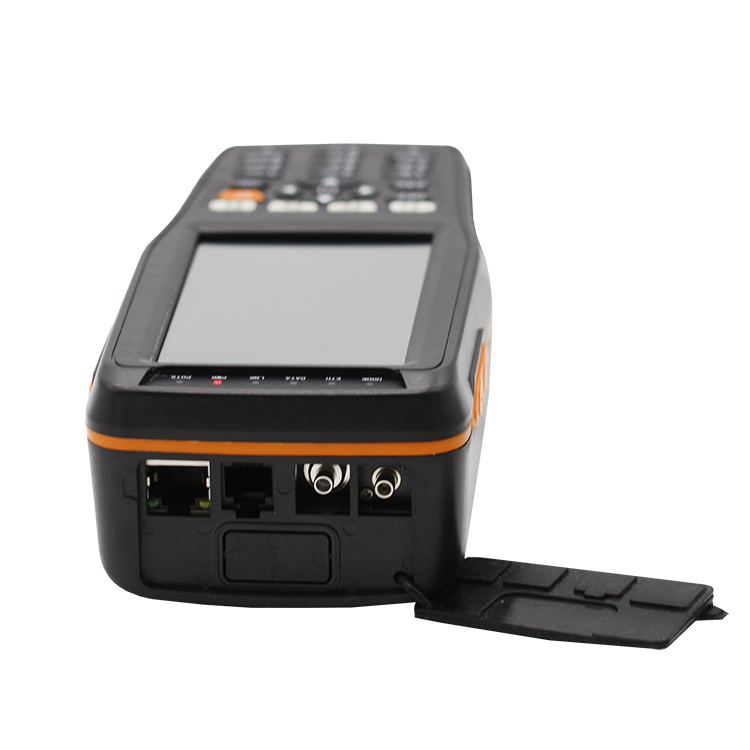
| Find faults and verify links | OTDRs and optical test instruments | Wavelengths, dynamic range, dead zone, power measurement |
| Inspect, identify and clean | Inspection, identification and cleaning | Connector types, live fibre identification, cleaning method |
Fusion Splicers
Finch supplies 19 SHINHO fusion splicers in six groups: core alignment, FTTH handhelds, multi-function and rugged, ribbon, large diameter fibre, and specialty splicers for PM, multi-core, hollow-core and 50–80 µm fibre. The fusion splicer range compares every model side by side with full specifications and explains which one suits which job.
Cleaving and Preparation
A low-loss splice starts with a clean, square cleave. Strip, clean and cleave the fibre to the length your splicer asks for, and replace or rotate the cleaver blade as it wears. See fibre cleavers and preparation tools.
Testing and Fault Location
An OTDR shows the length of a link and the position and loss of every splice, connector and break, so it is the tool for acceptance testing and finding faults. Power meters and light sources measure end-to-end loss. Read how to read an OTDR trace or browse OTDRs and optical test instruments.
Inspection, Identification and Cleaning
Contaminated connectors are one of the most common causes of loss in a fibre network. Inspect every end face before mating, clean it if needed, and use a live fibre identifier before cutting or rerouting a fibre in service. See inspection, identification and cleaning tools.
Fibre Optic Equipment in Australia and New Zealand
Finch is the Australian distributor for XHFiber and supplies fibre optic test and splicing equipment to telecom, NBN and FTTx contractors, data centre installers and fibre labs, with local technical support, spare parts and service.
Kitting out a crew or a lab? Tell us the work and fibre types and we'll put together the equipment list.
Frequently Asked Questions
What fibre optic equipment do I need for FTTH installation?
A typical FTTH kit is a handheld fusion splicer, a precision cleaver and strippers, a visual fault locator or OTDR to verify the link, and an inspection scope and cleaning tools for connectors. Finch can supply and support the full kit.
What does an OTDR do?
An OTDR (optical time-domain reflectometer) sends light pulses down a fibre and measures what is reflected back, so you can see the length of the link and the position and loss of each splice, connector, bend or break.
Why inspect connectors before mating them?
Dust and residue on a connector end face add loss and can scratch the mating connector. Inspecting and, where needed, cleaning every connector before it is mated is the simplest way to avoid faults.
Do you supply fibre optic equipment in New Zealand?
Yes. Finch supplies and supports XHFiber fibre optic equipment across Australia and New Zealand.